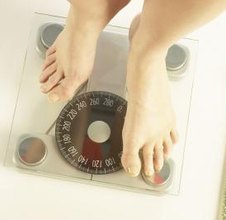
The tools of Photoshop can remove belly rolls from a photo far more easily than you can remove them from your body. Photoshop is the leader in image editing software, and it offers a range of tools for altering features and improving blemishes. Learn how to use those tools to shed a few quick pounds digitally.
Instructions
- 1Load the photo with the unwanted fat rolls on your computer.
- 2Open Photoshop. Click “File” in the top menu and click “Open.” Go to the photo you loaded and open it.
- 3Click “Filter” in the menu and click “Liquify.” In the dialog that opens, you will see a preview of the image you are working on.
- 4Go to the toolbar on the left of the dialog and select the “Forward Warp” tool. In the controls on the right, make the size of the brush smaller than the rolls of fat.
- 5Use the tool to push the rolls in. Be careful to make a smooth edge. Don't go so far with the effect that it is obvious. Also make sure that both sides appear symmetrical.
- 6Click “OK” and save your work.
- 1


