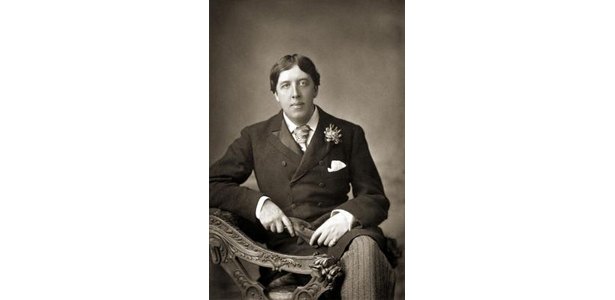
Although clarity, sharpness and superior image quality are some of the benefits of digital photos, many people still appreciate the antique or aged look not typically found in modern photography. Editing digital photos in Photoshop allows you to give photos the same antique effect found in vintage photos without compromising the resolution of the photos. By adjusting the color of your photo and adding a filter, you can create an antique effect similar to photos found in the 19th century.
Instructions
- 1Launch Photoshop and open the photo you want to apply the antique effect.
- 2Click the "Layer" menu at the top of Photoshop, and then click "New Adjustment Layer" on the drop-down menu and select the "Hue/Saturation" option.
- 3Slide the Hue and Saturation sliders until you achieve the desired color effect. A hue of 30 to 40 and saturation of 20 to 25 creates a sepia-toned antique effect.
- 4Click the "Colorize" check box, and then click the "OK" button.
- 5Click "Layer," and then click "Merge Visible" on the drop-down menu.
- 6Click the "Filer" menu at the top of Photoshop, and then click "Noise" on the drop-down menu and select the "Add Noise" option.
- 7Slide the noise Amount slider until you achieve the desired texture effect. Any amount between three and 10 adds the level of graininess found in many vintage photos.
- 8Click "Gaussian" and "Monochromatic," and then click the "OK" button.
- 9Click "Layer" and "Merge Visible" when you are satisfied with the antique effect.
- 1


