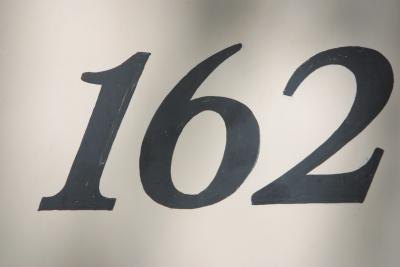
An address stone mounted on your home is a decorative way to identify it. Strategically placing an address stone under a streetlight in your yard will save electricity, and make your house easy to find after dark. Making your own address stone gives you an opportunity to incorporate a motif that matches the
exterior decor of your home, or to create a unique landmark.
Add personal objects to the stone like a family crest, a monogram, decorative tiles, or seashells you collected on vacation.
exterior decor of your home, or to create a unique landmark.
Add personal objects to the stone like a family crest, a monogram, decorative tiles, or seashells you collected on vacation.
Instructions
- 1Purchase the numbers for your address stone, and a flexible mold that's at least 2 1/2 inches deep, at a hardware or home improvement store. Large aluminum cake pans, plastic saucers from potted plants or disposable roasting pans work well as molds.
- 2Lay out the newspaper on a large flat surface, and spray a light coating of cooking spray on the inside surfaces of the mold. Place the ruler inside as a guide for positioning the numbers. A small brick on top of the ruler will hold it in place. If you are using the address stone in your yard, allow at least 6 inches from the bottom of the numbers to the bottom of the mold for placing the stone firmly into the ground.
- 3Place the sequence of numbers and each individual number of your address into the mold backward. For example, if the number is 162, place the "2" backward on the left, the "6" backward in the middle and the "1" backward on the right. Position the numbers at least 1 inch apart, with the bottom of each one flush against the ruler. Mark the position of each number on the ruler, in pencil.
- 4Combine water and cement in a bucket, according to the instructions on the bag, and mix with a mixing stick. The mixture should be the consistency of peanut butter.
- 5Hold the bottom of each number firmly against the ruler as you drop a spoonful of cement onto the top-half. With the back of the spoon, press the cement down and around the top-half of each number. As you work across, match the position of each letter to the pencil marks you made on the ruler. Wash and dry the spoon, and allow the cement to set for a few minutes. Remove the ruler and repeat the procedure across the bottom-half of the numbers.
- 6Position any personal objects inside the mold. If you add a monogram, place the initials in backward and follow the same procedure you used for placing the numbers to position the letters in the mold.
- 7Allow the cement to set a few minutes before filling the rest of the mold. For sufficient strength, the stone needs to be at least 2 inches thick. Gently tap the mold to remove any air bubbles. Clean the spoon and use the back to smooth the surface of the cement.
- 8Cover the mold with newspaper and allow it to stand, undisturbed, for two to three days. In areas with high humidity, allow up to a week for the cement to thoroughly dry. The flexible mold will easily release the stone when the cement is dry.
- 1


