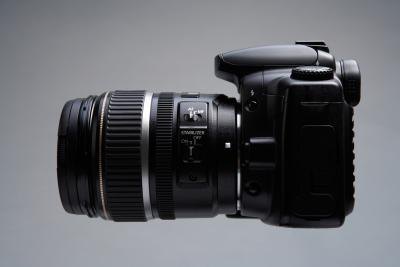
 Canon's EOS, or Electro-Optical Systems, for Digital-SLR cameras captures still images in Canon's proprietary CR2 format. Known also as RAW images, these files contain all the metadata associated with the pictures, like the white balance and color temperature.
 However, you need image processing software to view or edit them. Fortunately, Canon provides EOS camera users with free software called Digital Photo Professional, or DPP, allowing you to view, correct and even convert your RAW images to other formats. This software came with your camera, but it is recommended you upgrade to the latest version of DPP before you begin.
Instructions
Downloading and Installing Updates
- 1Open your Web browser and visit Canon USA's home page. Click the Support & Drivers option in the lower left corner of the screen.
- 2Click the Consumer & Home Office tab in the Product Type fold-out menu. Select EOS (SLR) Camera Systems in the Product Family menu and choose EOS Digital SLR Cameras.
- 3Click the Service & Support tab underneath your camera model's icon in the Models window. Scroll through the list of software updates and download the software associated with your computer's operating system.
- 4Double-click the software update program file and follow the onscreen installation instructions. Insert the CD-ROM that came with your camera into your computer's disk drive when prompted, and enter your product's registration key. Agree to the terms of use and open Digital Photo Professional.
Opening EOS Files
- 5Click the Folder tab on the left side of Digital Photo Professional. Choose an existing folder or create a new folder to save your images to.
- 6Press the Tools menu option at the top of the screen and select Start EOS Utility.
- 7Attach one end of your connector cable to your camera. Attach the other end to your computer, turn your camera on and wait for your computer to recognize the device connection.
- 8Click the "Main Window" button to open the main EOS Utility menu. Press the "Start to Download Images" button to to save the pictures to your computer.
- 9Scroll through your saved pictures. Double-click the desired picture's icon to automatically open and view it in the program's Edit window.
- 1


